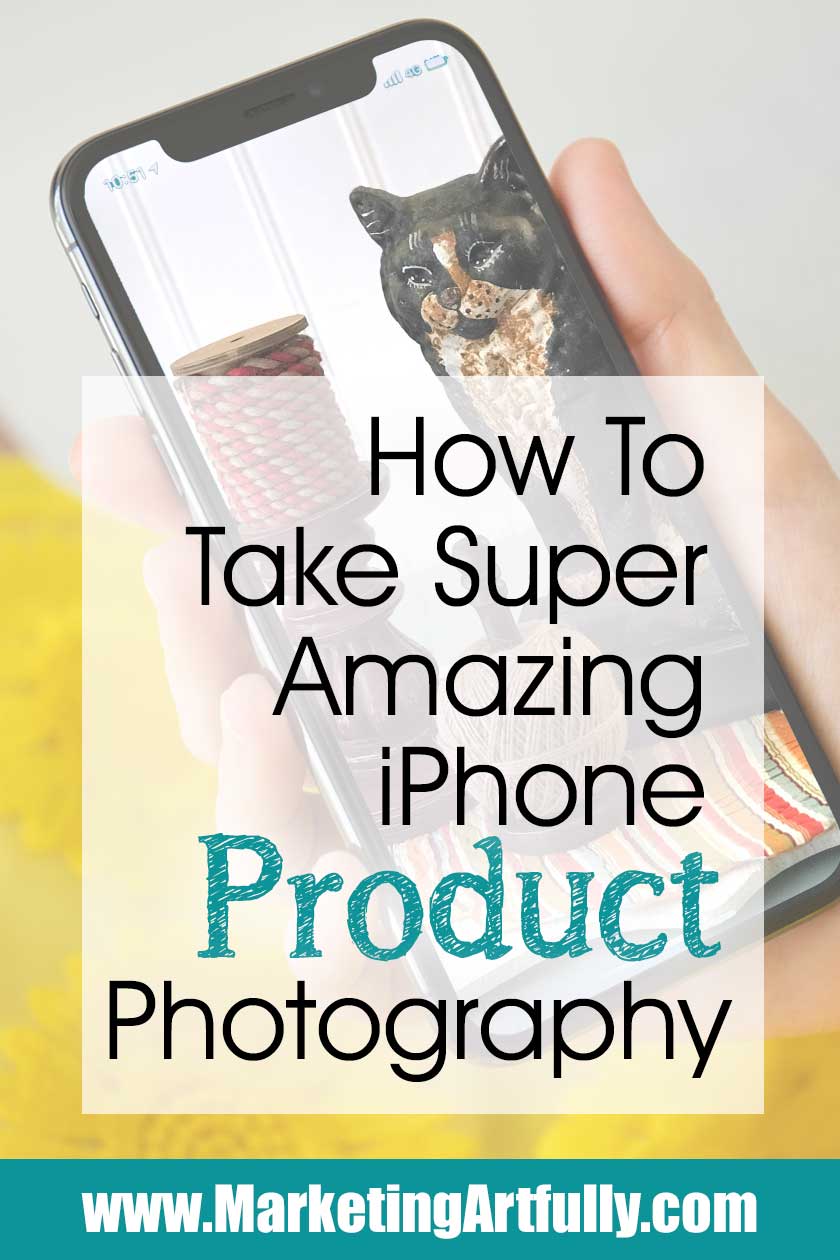
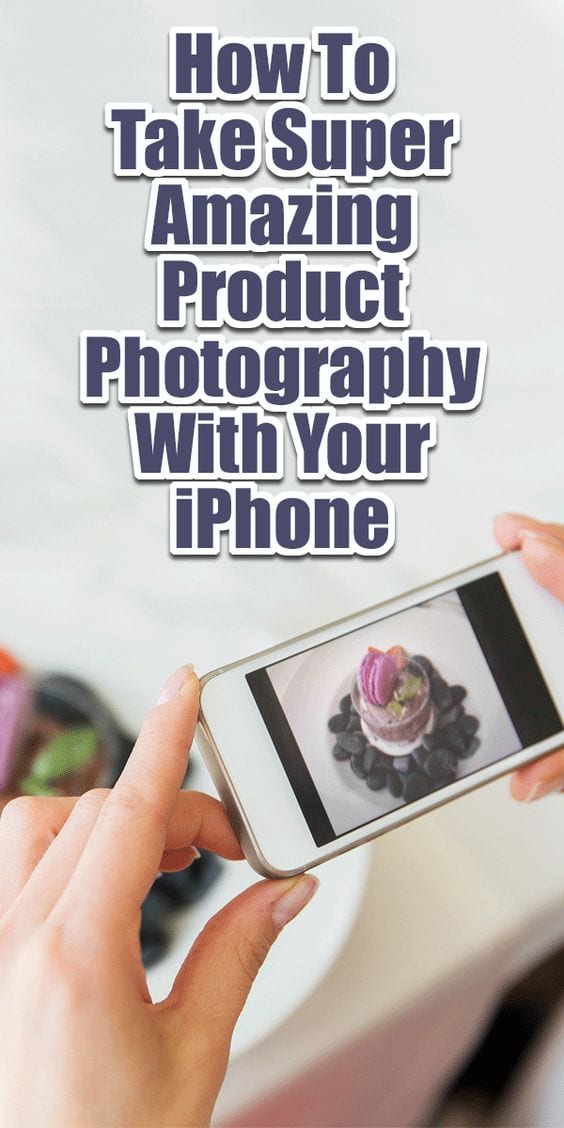
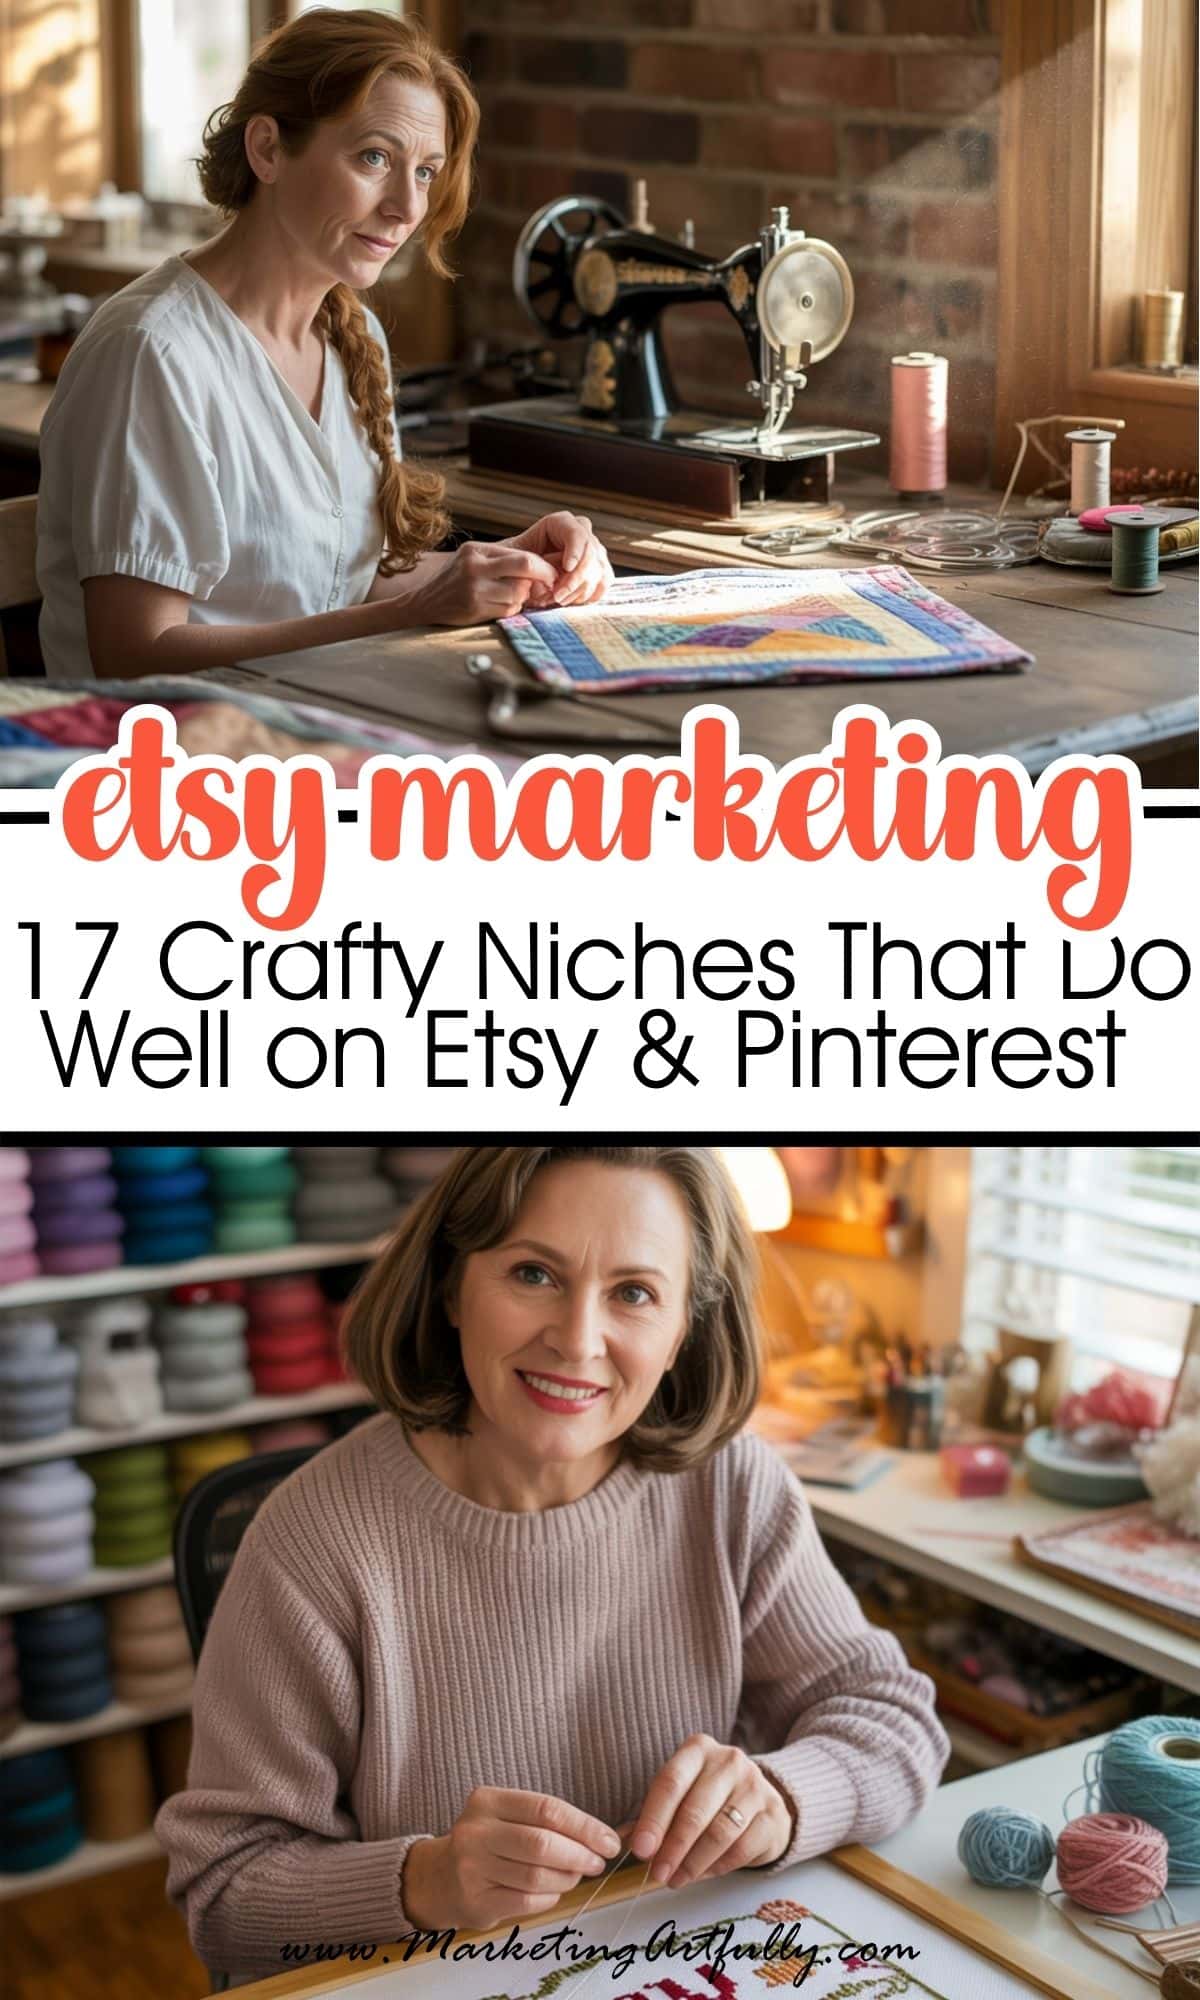
I have been studying up on product photography quite a bit lately and trying to figure out whether I need to use a fancy camera or if I can do it with my iPhone. And now with the iPhone 7 I can even take those fancy blurry background photos that look so darn cool! (but don't worry, most of the post is about old, plain jane iphone pictures)
I know, "they" all say you have to use a DSL camera and I have a bunch of them around here (my husband and mother-in-law are "real" photographers from way back!) But I am not trying to take photos for print publications. I am taking photos to use on my website and my Etsy stores, Paperly People (digital products) and Glamorously Vintage.
I have found that pictures of products taken in real life or working are much more sale-able than just having a standard shot of a PDF or a plain picture of a product.
In this post we are going to cover a bunch of things that I think make a tremendous difference in how well products appear when they are styled just a little and had a little "editing" done to make them look better.
please note :: I often recommend resources, some I receive an affiliate commission for at no additional cost to you, these all help to keep this site free for you!
2019 Update! - I got the iPhone 7 Plus with Portrait (It is SOOOO worth it!)
I have been wanting to upgrade my phone forever and was hesitant to spend the extra money to get the Portrait mode on an iPhone. Portrait mode (this might be called Selective Focus on your phone if you use an Android).
Besides the fact that I have gotten better at lighting over the years, having that blurred background makes the second scale from my vintage shop look so much snazzier than the first one! This takes my "plain jane" product pictures from boring to almost "lifestyle" in one step!
Related Post: Easy Tweaks For Your Lifestyle Product Photography
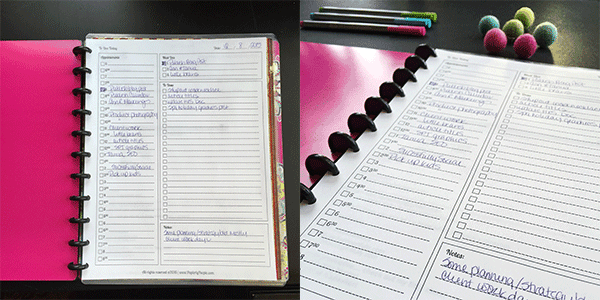
What I Was Using Before
- iPhone 6
- The built in camera
- Camera+ to take pictures sometimes
- VSCO App for editing (making them look pretty)
Having been a Photoshop girl from WAY back I never thought that I would like to use my phone for editing pictures, but there is just something so nice about taking some pictures, picking the best one and then getting it all ready to go in one step.
Because I am not taking thousands of pictures (more like a couple a day) I just message them back and forth between my phone and my laptop. You could plug in your phone and have them on each too, but that is an extra step that I have found messes with my workflow.
Where To Use Pictures
Before we get all into the how of taking pictures, let's talk about where you can use your pictures.
- On your product pages
- On your website when you are talking about your products
- On Instagram
- On the other social media websites
- When you do shop updates (Etsy)
There is nothing wrong with having LOTS of different pictures of your products to use in your marketing efforts and having interesting pictures makes it much less likely that people will get bored of your posts.
Lighting
Okay, there is nothing more important than lighting for making your pictures look good. I am super lucky that my work area is well lighted with two huge windows that let in a LOT of light.
That said, I can't always use that area and it is hard to get people to stand right there in perfect lighting on demand. The one thing that I did learn is that all the different "warmths" of the lights in my house mess up the ability to make pictures light and bright. Because some have a yellow cast and some have a more white cast, the editing software struggles to make them all get brighter.
With this in mind, if you are taking pictures of your products on people I would definitely step outside to take them.
The settings that I use to make my images better on the VSCO app are:
- Exposure
- Contrast
- Clarity
- Sharpen
- Shadows
- Temperature
I never do more than about two clicks, thinking that if it needs that much editing then I should retake it with better lighting! There is a saying among "real" photographers, "it is better to get the shot in the camera than to have to process it too much". If you are having a really hard time getting your picture to look right, better to re-do it than spend hours fussing over it!
Backgrounds
Okay, here is where the rubber starts to meet the road. When I started this process I thought that I would use bright white backgrounds for everything. I had heard that this is the way to go and it seemed right until I took about the 3rd picture using the exact same background color and I realized that I would claw my eyes out if I had to only shoot on white backgrounds.
While I do use white backgrounds for some things, I also use black and multi colored backgrounds often too.
Related Post: How To Make Marvelous Product Photography Backgrounds
Background Ideas
You do not have to spend a fortune in light boxes and drapes to make great pictures. I use two different pieces of foam core (black and white) for many of my pictures. I also use a variety of other different backgrounds including:
- Foam core - because it is rigid it makes a great background color AND a good way to make my workspace a little bigger. I put it across the corner of my desks and bam... a nice, big, flat area to shoot on!
- Fabric - fabric is awesome to use as a background because is cheap to buy and easy to store.
- 12X12 Scrapbook paper - I love using scrapbook paper with all the different patterns and colors it has. The only problem is that they are small for taking stylized photos so I use them more for fun candid shots.
- Boxes - I have an issue with buying those cardboard boxes at Michaels. They are awesome to use as they are pretty and serve as storage when not in use.
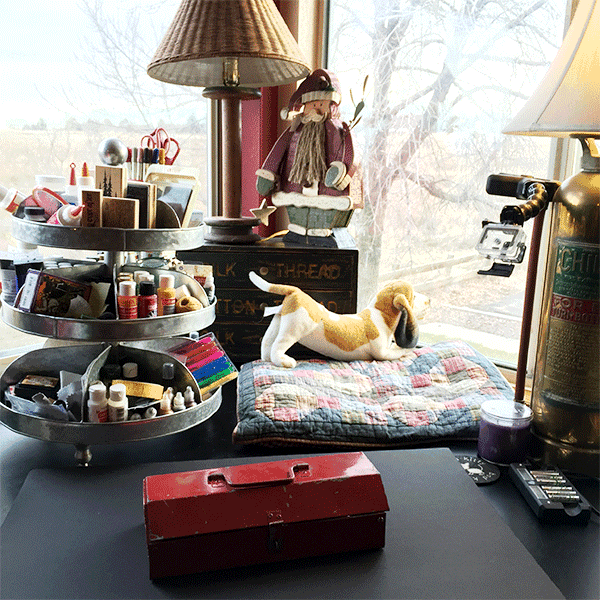
- Household items like my fire extinguisher lamp, your kitchen table, your granite counter top, a funky box with rusted parts. Functionally look around you and see if there is anything that will serve as a cool, different surface to shoot on!
Because I am space challenged, my backgrounds have to be small and store-able. If you have a larger space you could do fun things like paint a board with blackboard paint, use a wainscoted board or other textured surfaces.
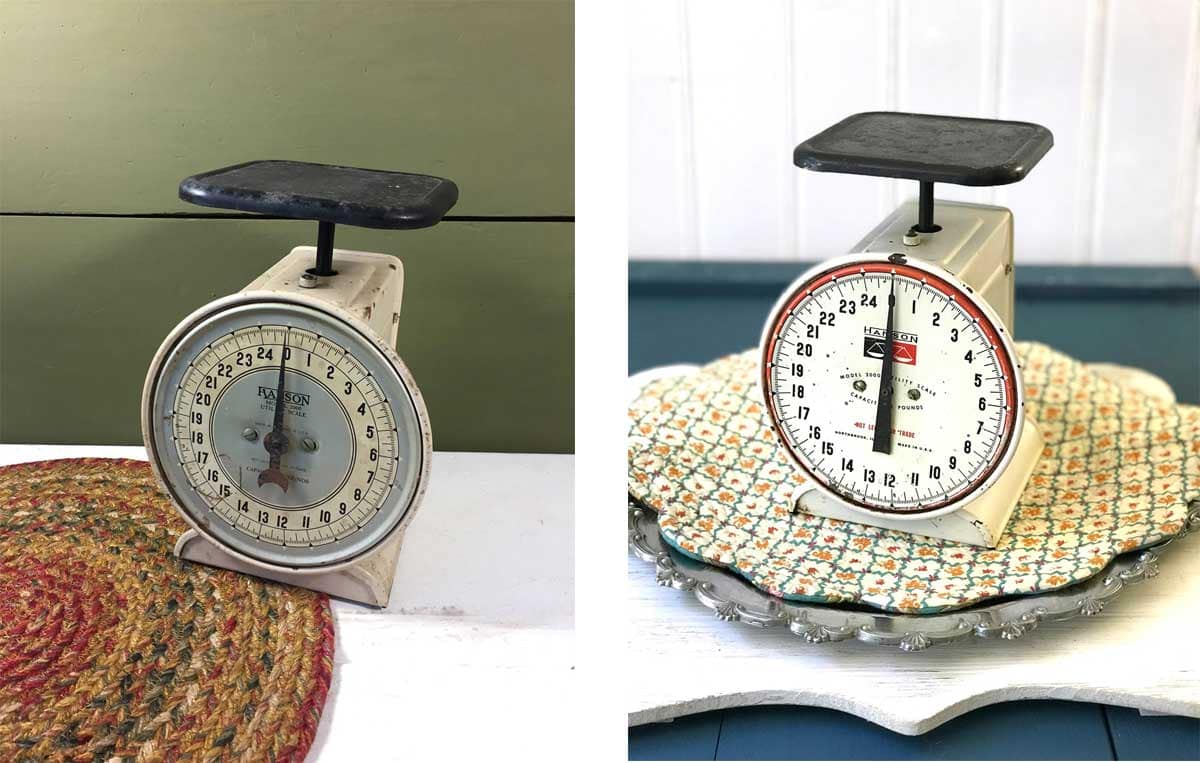
Here are a few ways that I have used backgrounds!
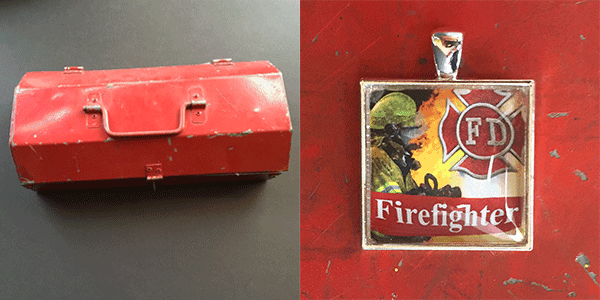
I loved the red color and rough texture that this toolbox had for a necklace that would work with fire fighters!
It always amazes me how you can use something simple to make such beautiful pictures!
Styling and Props
Okay, this is where I think that photos are made. Having fun little props or background items makes your product seem more use-able and it pops off the page.
Styling Ideas
I use lots of different things to style my products including:
- Felt balls - these are tiny little pops of color that just add a little interest to the shot. The nice thing is that I got a ton of different colors for very little money.
- Pens, paint jars and colored pencils - these are all super cheap to pick up and add pops of color to the shot.
- Funky office supplies - if you are selling digital products it is always nice to have some office bits around your product.
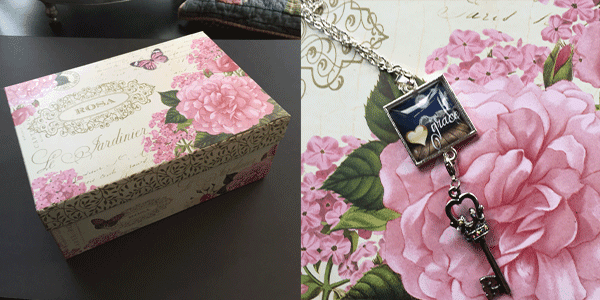
- Matching items - when I am selling my Baker necklaces I dragged out the mixer and took some shots with that as the back ground. I also added some candy confetti and a baking cup. Think about what matches your product and then use those kinds of things to style it!
I will tell you, when you start it is really hard to think of things that would work. You will probably just flail around a bit, but as you do it more, you start to see lots of everyday things that could add a pop of color or a bit of interest!
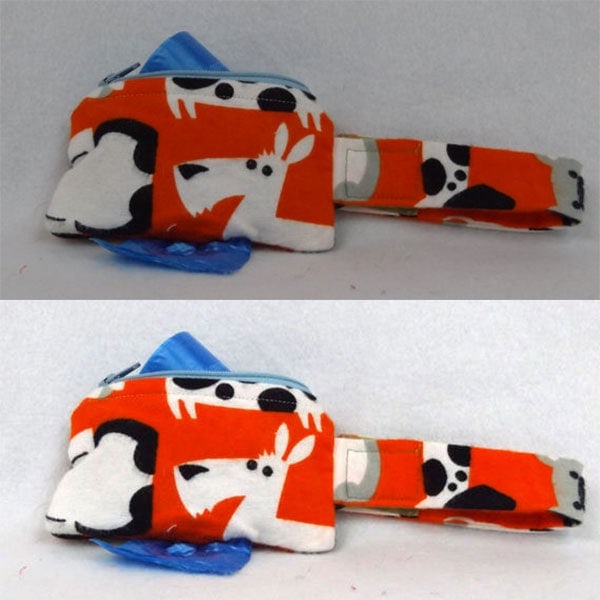
While the form on the left is actually exactly the same as the one on the right, adding the felt balls and the pens in the background really make a difference in how appealing the product is. Just seeing it "in action" makes the view feel like their life can be organized and filled with color if they buy it!
Consistency
I think we have to at least talk about consistency. If you look at big brands, they mostly have their product photographed on a white background, plain jane. And I thought that I would like a consistent look to my items, like I had in my work necklaces shop before going all fancy...

It does look clean and clear but not very exciting. I am gradually moving toward having more diverse pictures that are not so "standard". I love the look of this shop that has all different pictures and a more funky look...
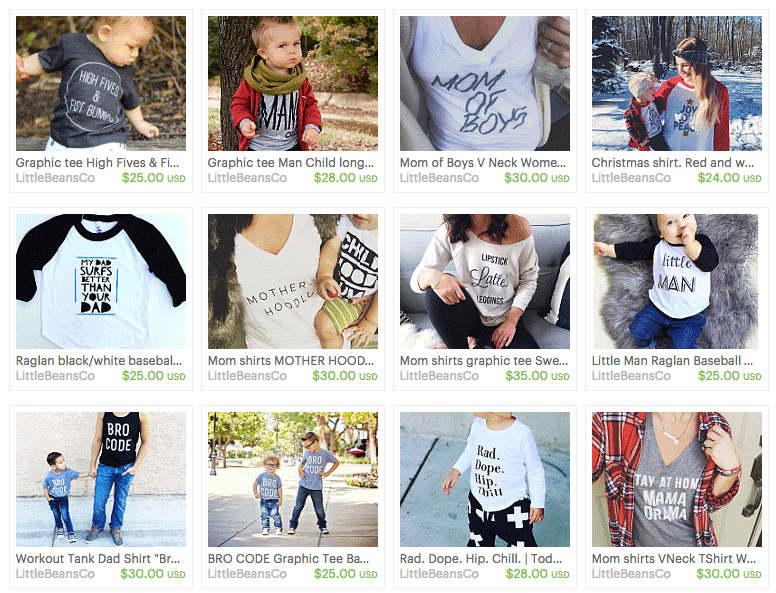
source Little Beans
A couple of things to consider are:
- Time - it takes longer to make amazing pictures than it does to just snap a bunch of the same setup.
- Workflow Management - going through this post and pulling pictures I realized that I have a bunch that never made it from my camera to my listings. That is going to happen when you are doing lots of different candid pictures.
Product Photography Wrapup
Okay, that is a great overview to get you started. I am thinking that I am going to drill down into at least a couple of the areas to show even more examples because it is that important!
The internet runs on pictures now and it is vital that you get at least a little better at portraying your products more prettily! People buy with their eyes and it is well worth your time to learn how to take amazing pictures.
Update 2018
I have been taking product pictures for over a year now and I have gotten MUCH better. Even these ones that I used as an example look a little generic to me now!
Some thoughts after taking THOUSANDS of pictures..
1. I do like varied background BUT with a consistent theme! I use old wooden boards for my Glamorously Vintage shop. I got them at a salvage yard, had them cut down to size and then painted some of them to have different colors.

2. There is nothing worse than a dark and dingy picture. It is so worth brightening up your pictures!
Here is a post about how to brighten your pictures using a free (Photoshop-like) software!
iPhone Product Photography FAQs
As I have had this post and updated it over the years, I have gotten some really good questions about using your iPhone for product photography!
Can you really use an iPhone and take good product pictures?
Here is the scoop on this one for me. Because most of my buyers are looking at my products on their phones, I don't have to take super high resolution pictures to make my products look pretty.
I think a lot of the advice out there is for "real" companies who might be doing print ads or big marketing campaigns. Honestly, I am just trying to take nice enough pictures that I can post them on my listings and then maybe share on social media.
How do you take good pictures with your iPhone?
This one is a biggie for me! I have a few tips that might help you...
- Make sure you have a lot of light... that little sun slider isn't going to be magic, you need to find a well lit area.
- Take a variety of pictures... do ones that are product only, some that have styling props, get all different kinds of shots. It is great when you have different looks and can reshare your listings over and over on social without looking like a spammer.
- Take WAY more than 10... if you are taking the bare minimum of pictures that you think you will need, you might be sad once you are done! It is so much easier to take a lot of pictures while you have everything set up than to have to come back and reshoot them.
- Take a lot of pictures! I only got better at taking pictures when I spent a month taking a fancy picture a day and then figuring out what was wrong or right with it.
- Get down and take some of your pictures from table height.
How do you get good lighting for indoor pictures on iPhone?
This is a hard one for me now. I used to have that amazing window lighting in Colorado, but we moved back to Florida and now have huge overhangs on our windows...sigh.
What I do now is only shoot on sunny days, I know I will hate the pictures I take when it is overcast.
I also have big lights that I can shine around the room, I don't love these because they sometimes make funny shadows.
What I DO love is my reflector my husband gave me (he is a real photographer). I put this at the back of the room and it bounce light back from the window. And they are super cheap... whoo whoo! Check it out on Amazon
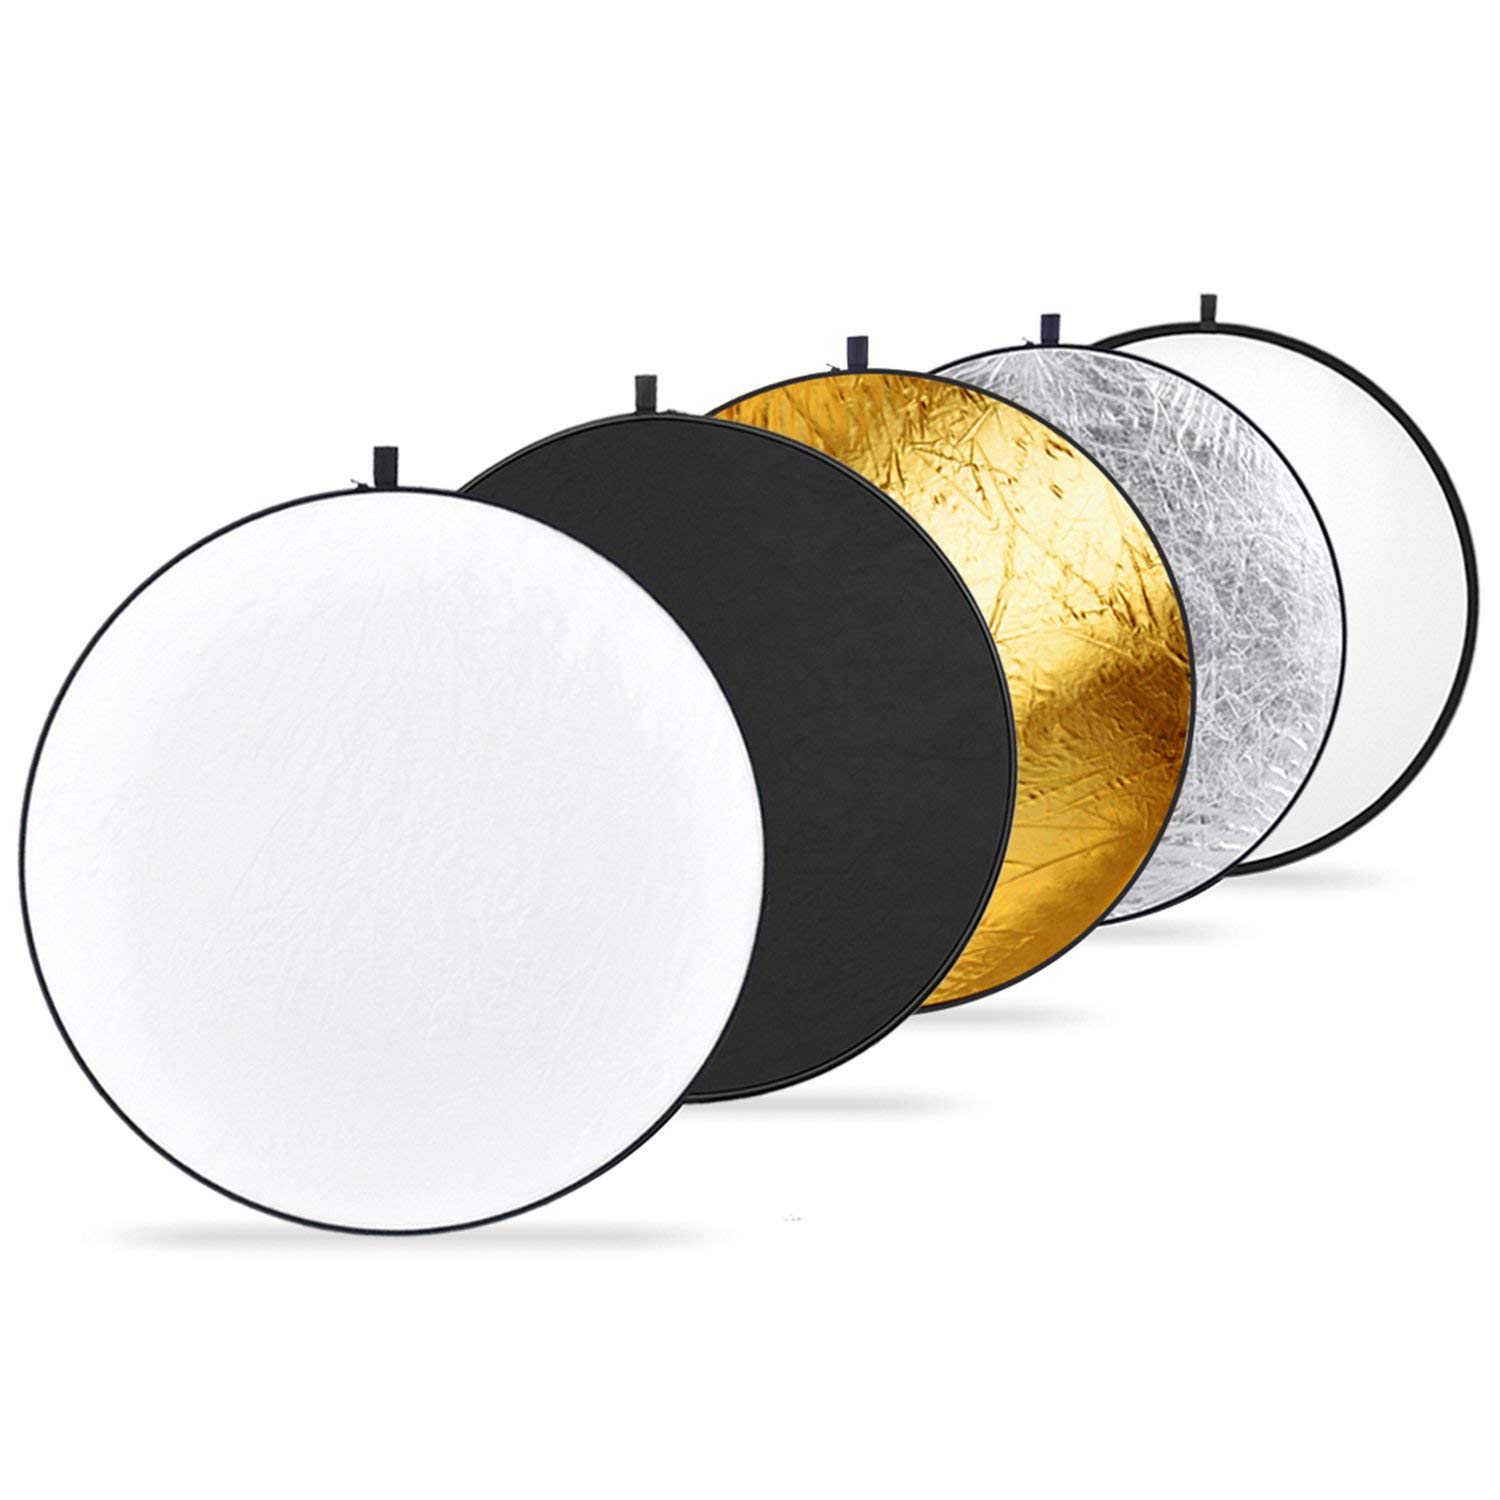
Make sure you use the one that matches your style of photography. For example I only use the silver or white ones because I like a more white look. If you like a "warm" look use the gold one!
Which camera is best for product photography?
Chase Jarvis who is a REAL photographer has a saying, "the best camera is the one in your pocket"! I really believe that our phone cameras are good enough now! He has a good class I took iPhone X: The Quick Guide to Great Photos + Video. It is really great for thinking about how to use your phone to take pictures.
Related Posts
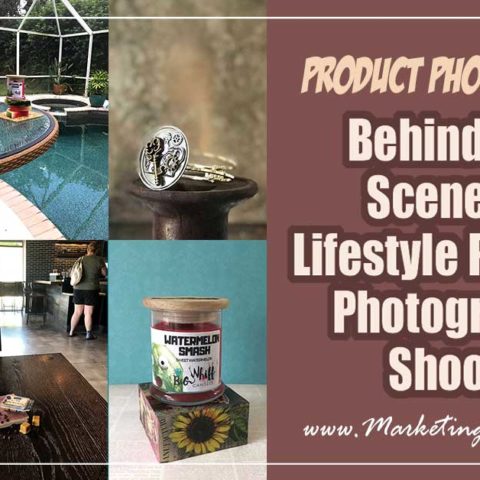
How To Take Super Amazing Product Photography
I have been working super hard on my product photography over the years and have some fun posts that might help you take better product shots too!
Etsy Product Photography
Between showing up in the Etsy search feed and social media, product photography is a vital skill for Etsy sellers. My top tips and ideas how to make your listings memorable!
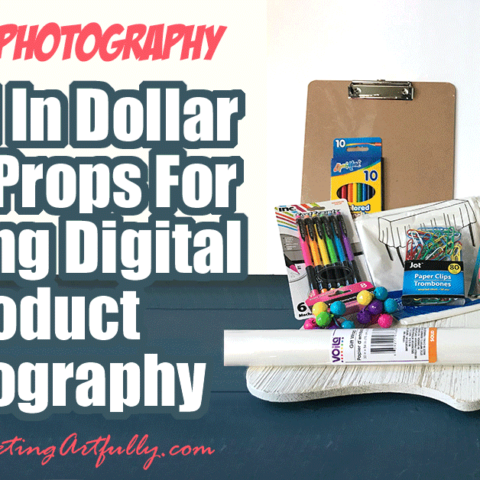
How I Used $13.91 Props From The Dollar Store To Take Creative Digital Product Photography
As a digital product creator it can sometimes be hard to find cute ways to style my products for selling on Etsy, Shopify or even on my own site. I am going to show you how to use $13.91 worth of products from the dollar store to make creative, fun and colorful digital product pictures!…
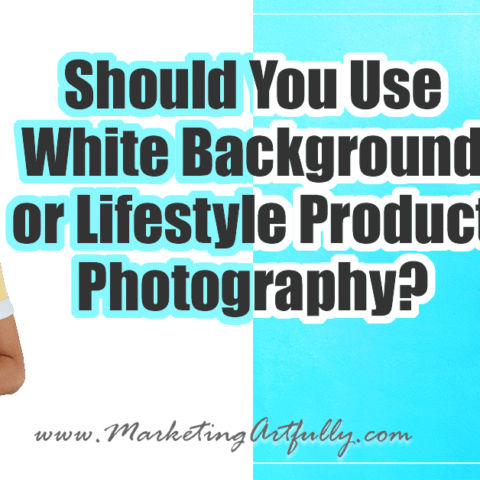
Should You Use White Background or Lifestyle Product Photography?
Today is going to be a hot one! If you are doing product photography should you have plain-jane white backgrounds like on Amazon or should you have lifestyle styled photos? Here is the difference shown super plainly… the left is a stylized lifestyle shot from my instagram account and the right one is the same…
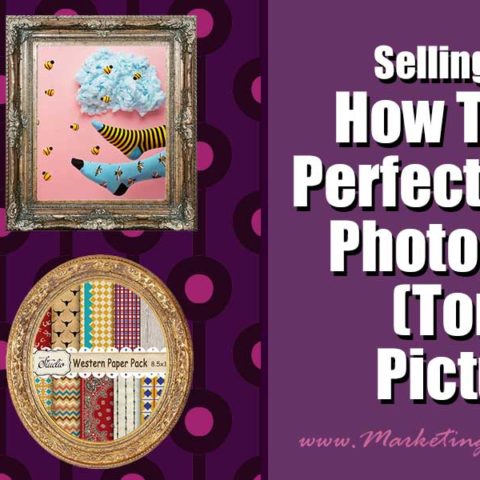
Selling On Etsy – How To Have Perfect Product Photography (Tons of Pictures)
Selling on Etsy involves lots of moving parts, but one of the biggest ones might be the quality and style of your product photography. You can have the best Etsy SEO and the most awesome descriptions, but if your pictures fall flat you will struggle to convert sales. I am a visual kind of girl…